With Easter quickly approaching, there’s no better way to celebrate than with a family-friendly craft project that’s glittery and fun. These beautiful Easter eggs are simple to make.
You’ll Need
- Craft foam, construction paper, or colored cardstock
- Scissors
- A variety of glitter glue colors (we used pink, purple, green, blue, and white)
- Use a pencil to draw the shape of an egg (optional).
- Optional: draw by hand or use an egg template.
Step-by-Step Instructions
- Start by cutting out an egg shape from card stock, craft foam, or construction paper of any color. Use a template or an outline as a starting point when working with younger children.
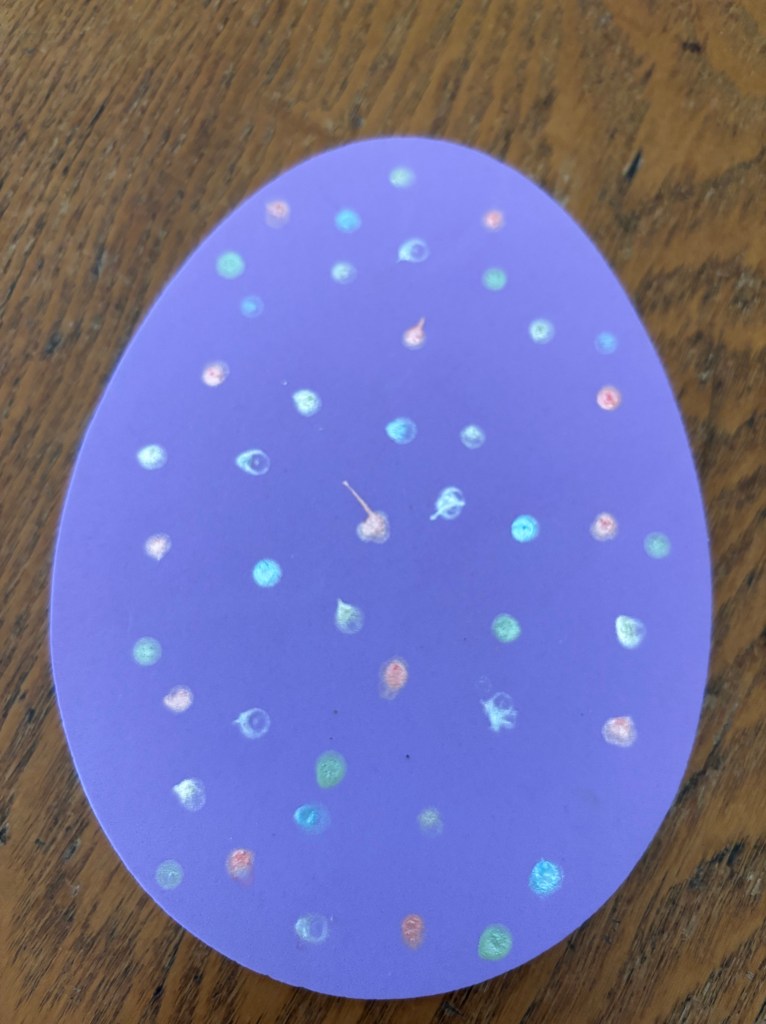
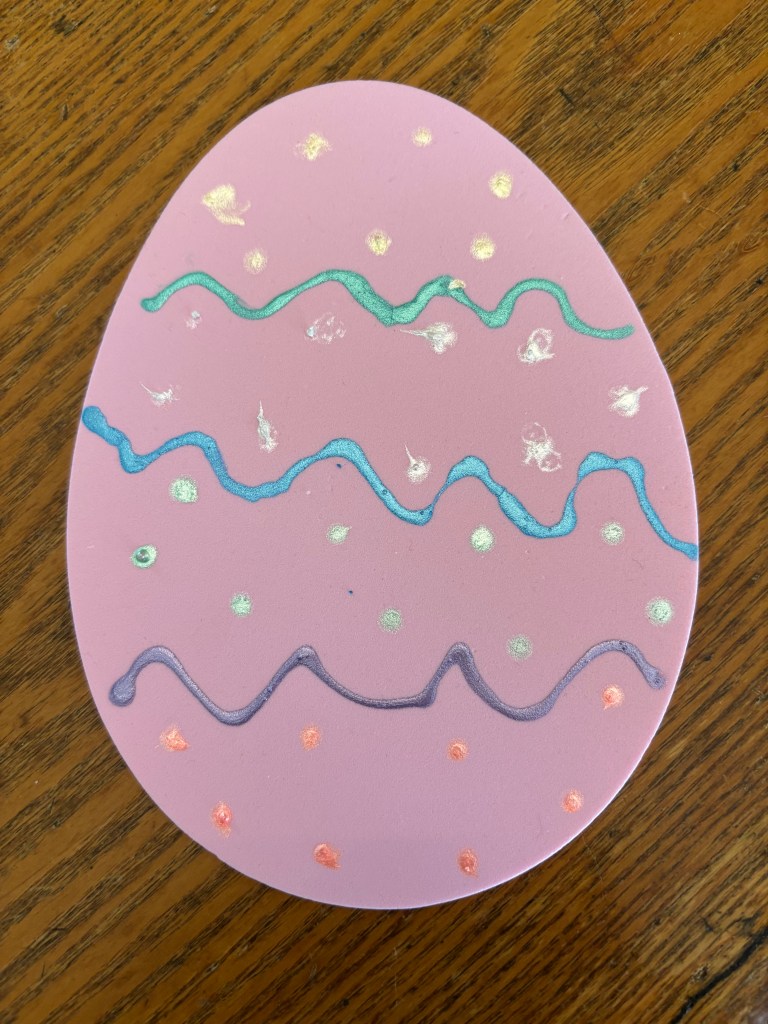
- Once you have your egg shape finished, the fun part starts! Adorn your egg with glitter glue in different hues. Let your imagination run wild!
- Let your masterpiece cure completely; this could take a few hours, depending on how thick your glitter glue is.
- Show off your lovely eggs as part of your Easter décor, or thread them all together to make a garland!
Tips for Success
- Work on a surface that is protected because glitter can get messy.
- If glitter glue is not available, you can use ordinary glue and then add glitter on top.
- Younger children may want assistance in squeezing the glitter glue.
- To create the illusion of a rainbow, create many eggs with varying backgrounds!
This easy craft is ideal for kids of all ages; older kids can make more intricate patterns and designs, while toddlers will love the tactile experience of making dots. It’s a great approach to work on fine motor skills as well.